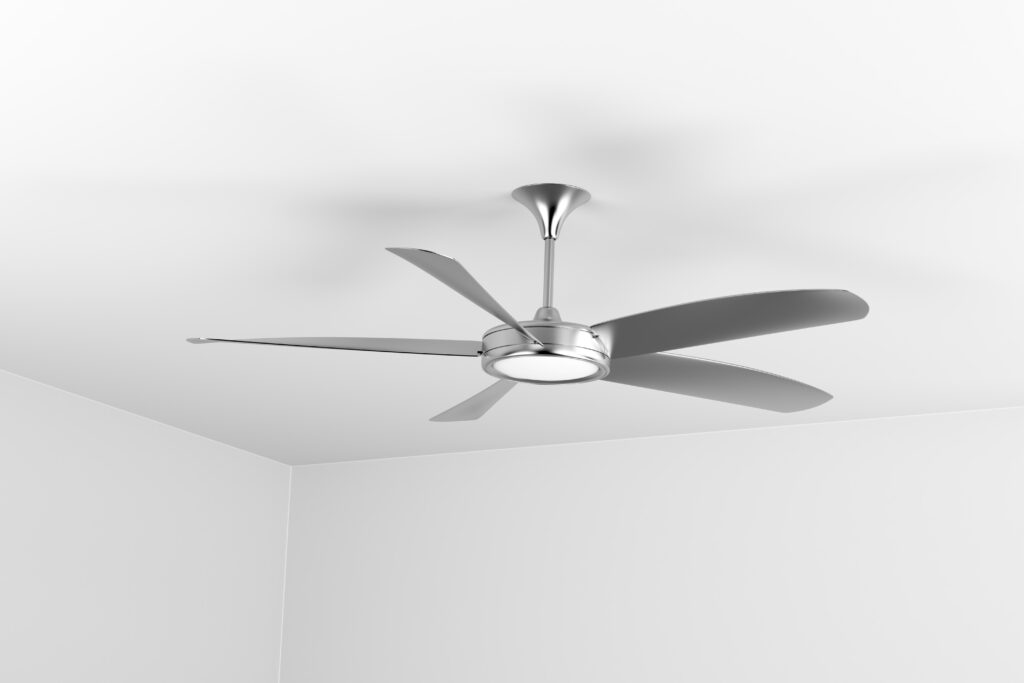
What to Know Before Installing a Ceiling Fan in Every Room
Spring in Lincoln brings warmer afternoons, and ceiling fans start earning their keep again. Installing a ceiling fan in every room sounds simple, but the process involves more than picking a style and mounting it to the ceiling. Each room has different wiring, ceiling heights, and airflow needs that affect the final result. Homeowners who plan ahead get fans that run quietly, cool efficiently, and last for years. A rushed install leads to wobbling blades, tripped breakers, and fans that barely move the air. Knowing what to check before the work begins saves time, money, and future repair calls.
Ceiling Fan Installation Planning for Every Room in Your Home
Before buying fans for every room, take stock of what each space actually needs. Bedrooms, living rooms, kitchens, and covered patios all have different ceiling types, box ratings, and circuit demands. Some rooms may have a light fixture already wired, while others need a brand new circuit pulled from the panel. Measuring ceiling height and room square footage tells you what blade span will move air correctly. Matching the fan to the room prevents weak airflow in large spaces and overpowered drafts in small ones. Good planning also keeps the installation code-compliant from the first screw to the final wire nut.
Ceiling Fan Installation Planning Starts With Room Size and Blade Span
Room size sets the rules for which ceiling fan will actually cool the space. A small bedroom under 100 square feet works well with a 36-inch fan, while a 200 square foot living room needs a 52-inch blade span or larger. Great rooms with vaulted ceilings often call for 60-inch or 72-inch models to push air down through the vertical space. Undersized fans spin faster and louder without moving enough air to matter. Oversized fans in tight rooms create uneven drafts and make the space feel cluttered. Getting the size right from the start keeps the fan quiet and effective.
Ceiling height changes the installation just as much as floor space. Standard eight-foot ceilings need a flush mount or hugger fan to keep at least seven feet of clearance below the blades. Nine and ten-foot ceilings allow a standard downrod mount, which places the blades in the ideal airflow zone. Vaulted or cathedral ceilings require a longer downrod and often a sloped ceiling adapter to hang the fan level. Mounting the fan too high reduces the cooling effect, while mounting it too low creates a safety hazard. Measuring twice before buying prevents returning fans that do not fit the space.
Blade pitch and motor quality matter as much as size. A steeper pitch between 12 and 15 degrees moves more air per rotation, which lets the fan run on a lower speed. DC motors use less energy than older AC motors and run noticeably quieter, which works well in bedrooms and nurseries. Rooms that stay humid, like sunrooms or covered patios, need damp-rated or wet-rated fans to handle moisture without rusting. Indoor fans installed outside will fail within a season or two. Matching the fan rating to the environment protects the investment and keeps the warranty valid.
Ceiling Fan Installation Planning Requires a Code-Rated Electrical Box
Standard light fixture boxes cannot support the weight and vibration of a ceiling fan. A code-rated fan box carries a UL listing for ceiling fan support and attaches directly to a joist or an approved fan brace. Installing a fan on a standard box leads to wobbling, cracked drywall, and in worst cases, a fan falling from the ceiling. The National Electrical Code requires fan-rated boxes for any ceiling fan, regardless of fan weight. Older homes often have plastic or pancake boxes that need replacement before a fan goes up. Checking the box rating is step one for any safe install.
Access to the ceiling framing determines how the box gets installed. Attic access above the room lets an electrician screw the brace directly into the joists for maximum strength. Rooms with finished ceilings above require a retrofit brace that expands between joists through the existing hole. Both methods work when installed correctly, though attic access usually creates a more solid mount. Older lath and plaster ceilings need extra care to avoid cracking the surrounding surface. A licensed electrician knows how to anchor the box without damaging the ceiling finish.
The wiring inside the box also needs review before the new fan goes up. Many older light circuits use only two wires, which does not support separate fan and light control. A fan with a light kit usually needs a three-way switch or a remote control to operate independently. Circuits that already run near capacity may need a dedicated line to avoid breaker trips when the fan pulls amps at startup. Grounding the metal fan housing prevents shock hazards and meets code. Every connection inside the box needs to match the fan manufacturer’s instructions exactly.
Ceiling Fan Installation Planning Covers Switches, Controls, and Circuit Load
How you control the fan affects the wiring plan from the start. Pull chains work fine for simple setups, but wall switches and remotes give better everyday use. A dual wall switch controls the fan motor and the light kit separately, which requires a three-conductor cable between the switch and the ceiling box. Remote controls let you keep a single switch leg while adding full speed and light control at the fan. Smart switches add scheduling, voice control, and app-based dimming for newer homes. Pick the control type before the wiring goes in, since changing later often means opening walls.
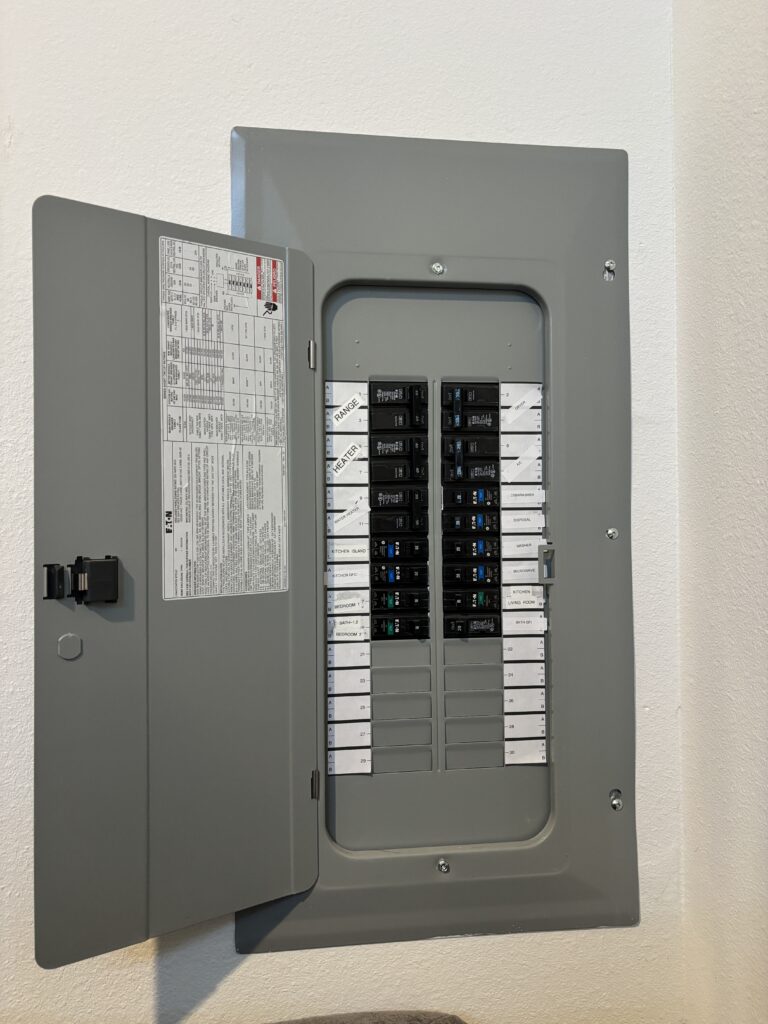
Circuit load matters when adding fans to multiple rooms at once. A typical 15-amp lighting circuit can handle several fans, but adding fans to a circuit already loaded with outlets and large fixtures risks overloading it. Each fan draws between half an amp and one and a half amps depending on size and motor type. Light kits with multiple bulbs add more load on top of that. An electrician can calculate the existing load and decide if the current circuit works or if a new one is needed. Overloaded circuits trip breakers, heat up wiring, and shorten the life of every device on the line.
Dimmer compatibility trips up many DIY installers. Standard dimmers will burn out a ceiling fan motor and void the warranty within weeks. Fan-rated speed controls handle the inductive load that fan motors create, while LED-compatible dimmers work for the light kit portion. Mixing these up causes buzzing, flickering, and premature motor failure. Manufacturers list compatible controls in the instruction manual, and following that list protects the fan. Need help picking the right fan and controls? Visit our ceiling fan installation page to schedule a visit.

Ceiling Fan Installation Room by Room Throughout the House
Each room in the house has its own set of rules for ceiling fan installation. Bedrooms need quiet operation and good reversing function for year-round use. Kitchens and dining rooms call for brighter light kits and blade heights that clear cabinet doors and tall furniture. Outdoor patios and covered porches need damp or wet-rated models to survive Lincoln’s weather. Bathrooms and laundry rooms have special code requirements that differ from living spaces. Planning each room separately leads to fans that fit the function, not just the ceiling.
Ceiling Fan Installation in Bedrooms and Living Areas Needs Quiet Operation
Bedrooms demand the quietest fans in the house because noise at night ruins sleep. DC motor fans run at a whisper even on high speed, which makes them the top pick for master suites and kids’ rooms. Fan sizes between 42 and 52 inches work for most bedrooms, depending on square footage. A reversible motor lets the fan push warm air down from the ceiling during cooler months, which cuts heating costs. Installing the fan centered over the bed, or over the main walking area for larger rooms, spreads airflow evenly. Remote controls or smart switches let you adjust the fan without getting out of bed.
Living rooms and family rooms see heavier daily use, so motor quality matters more here. A 52 to 60-inch fan with a strong DC motor handles long run times without wearing out. Rooms with open floor plans sometimes need two smaller fans instead of one large one to cover the full space. Light kits with LED arrays provide ambient light while saving energy compared to older bulb styles. Integrated smart controls tie the fan into home automation systems for scheduling and voice control. Picking a style that matches the room’s finish keeps the fan from standing out as an eyesore.
Hallways and stairwells occasionally get fans, though these spaces call for compact designs. Low-profile hugger fans work in hallways with eight-foot ceilings where airflow feels stagnant. Stairwells with high ceilings need longer downrods and careful anchoring to handle the extra weight. Both locations benefit from fans that move air quietly, since these are transition spaces where people pass through often. Mounting height codes still apply, so the blades need to clear the tallest person in the household by a safe margin. A professional electrician handles these tricky installs with the right hardware.
Ceiling Fan Installation in Kitchens and Dining Rooms Calls for Bright Light Kits
Kitchen ceiling fans need powerful light kits because cooking requires clear visibility. A fan with a 4000K to 5000K LED kit gives the neutral white light that makes food prep easier and safer. Blade height matters too, since kitchen ceilings often have cabinets, range hoods, and pendant lights competing for space. A flush mount or short downrod keeps the blades safely above head height while still moving air across the room. Damp-rated fans work well in kitchens because of steam and cooking moisture that can damage dry-rated models over time. Cleaning access should factor in, since grease builds up on kitchen fan blades faster than anywhere else.
Dining rooms use fans for both comfort and style, often serving as the main light fixture over the table. A decorative fan with a warm 2700K to 3000K light kit creates a softer mood for dinners and gatherings. Center the fan over the dining table, not the room, so the light falls on the table surface where it matters most. Blade span should stay proportional to the table, usually 42 to 54 inches for most dining rooms. Dimmable light kits let you adjust brightness based on the occasion. Remote controls also work well here since reaching a wall switch from the table takes effort.
Breakfast nooks and kitchen islands sometimes need a second smaller fan when the main kitchen fan cannot reach both areas. A 36 to 44-inch fan handles most nook spaces without feeling crowded. Check the ceiling structure above the nook, since add-on rooms sometimes lack the framing needed for a fan box. New circuits may need to run from the main panel if the existing kitchen circuit runs near capacity. For new construction or major remodels, visit our electrical wiring page to plan the full layout from the start.
Ceiling Fan Installation in Outdoor and Damp Areas Requires Proper Ratings
Covered patios, sunrooms, and covered porches all need damp-rated ceiling fans at a minimum. Damp-rated fans handle humidity and occasional moisture but not direct water contact. Wet-rated fans handle rain and sprinkler spray, which suits open porches and pergolas where water actually reaches the fan. Installing a dry-rated indoor fan outside voids the warranty within weeks and leads to corroded motors and rusted hardware. The UL rating label on the fan confirms which locations it can handle. Always read the rating before buying any outdoor fan.
Bathrooms fall under damp-rated rules too because of shower steam. Master bathrooms and larger bath areas sometimes add ceiling fans for extra airflow, though bath fans for ventilation remain separate. A ceiling fan in a bathroom cannot be installed directly over a tub or shower unless it carries a wet rating. Ground fault protection on the circuit adds another layer of safety for any bathroom fan install. Building codes in California require GFCI protection for outlets and fixtures near water sources. A licensed electrician makes sure the install meets both state and local requirements.
Garages and workshops benefit from industrial-style ceiling fans to move dust and fumes out faster. Large blade spans between 60 and 84 inches handle the high ceilings and open floor plans common in these spaces. Damp-rated models work here since garages see temperature swings and occasional moisture from wet vehicles. Mount height needs to stay above any lift equipment, garage door tracks, or storage racks. Dedicated circuits often make sense for garage fans since workshop tools already load up the existing circuits. Proper ventilation paired with a well-sized fan keeps the space comfortable year round.
Why You Need a Licensed Electrician for Ceiling Fan Installation
Installing one ceiling fan might seem like a weekend DIY project, but installing fans in every room multiplies the complexity fast. Multiple fans mean multiple electrical boxes, possibly new circuits, and coordinated control planning across the home. A licensed electrician handles all of this within a single visit while keeping the work code-compliant. Professional installation also protects warranties, which most manufacturers void if the fan was installed by a non-licensed person. Safety, speed, and clean results all come from hiring the right pro from the start.
Why You Need Professional Ceiling Fan Installation for Safety
Ceiling fans carry real weight, often 15 to 50 pounds depending on size and style. A fan that falls because of a weak box or bad anchor causes serious injury and property damage. Licensed electricians use UL-rated fan boxes and approved bracing to hold that weight through years of rotation and vibration. Wiring inside the ceiling box needs correct grounding, proper wire nut connections, and strain relief to prevent hot spots. Shortcuts here lead to arc faults, which start fires inside wall cavities where smoke detectors cannot sense them early. A proper install keeps every connection safe and hidden.
Circuit overloads cause another common DIY problem. Homeowners sometimes tie new fans into existing circuits that already carry too much load, which trips breakers and damages wiring insulation over time. Electricians calculate the total amp draw before adding any new fixture, making sure the circuit stays within code limits. They also check the panel itself for available breaker space and proper grounding. Older panels sometimes need upgrading before they can handle a full house of new fans. Catching that before the work starts prevents half-finished jobs and repeat service calls.
California code requires GFCI and AFCI protection in many residential circuits, and fans installed in certain rooms fall under those rules. A professional electrician knows which breakers each room requires and which outlets need updated protection. Pulling permits for larger installs keeps the work on record for future home sales and insurance claims. Unpermitted electrical work can cause problems during home inspections and sometimes voids homeowner insurance after a fire. Code compliance protects the home, the homeowner, and everyone inside it. That protection starts with hiring a licensed professional.
Why You Need Professional Ceiling Fan Installation for Quiet Results
Wobbling and buzzing fans usually come from installation mistakes, not fan defects. Blades out of balance, loose downrod connections, and improperly anchored boxes all cause vibration that gets worse over time. Professional installers torque every screw to manufacturer specs and balance each blade before leaving the job. They also test the fan at every speed to catch resonance issues before the homeowner hears them at 2 AM. Quiet operation from day one means the fan stays quiet for years.
Control wiring creates another source of noise and trouble. Wrong dimmers, mismatched remotes, and incompatible smart switches all cause buzzing, flickering, and motor hum. Electricians match the control type to the fan motor so everything works together as designed. They also label circuits and switches clearly so future service calls go faster. Clean installation extends to routing cables neatly inside the ceiling box, which prevents pinched wires and loose connections. All these small details add up to a quieter, longer-lasting fan.
Installing multiple fans across the home also lets an electrician coordinate control zones. Rooms can group together on smart switches for whole-home control, or stay independent for custom settings. Scheduling the bedroom fan to run only at night, or the patio fan only during parties, takes just a few minutes to program during install. This kind of setup is hard to retrofit later without opening walls again. Having it all done at once saves money and frustration down the road.
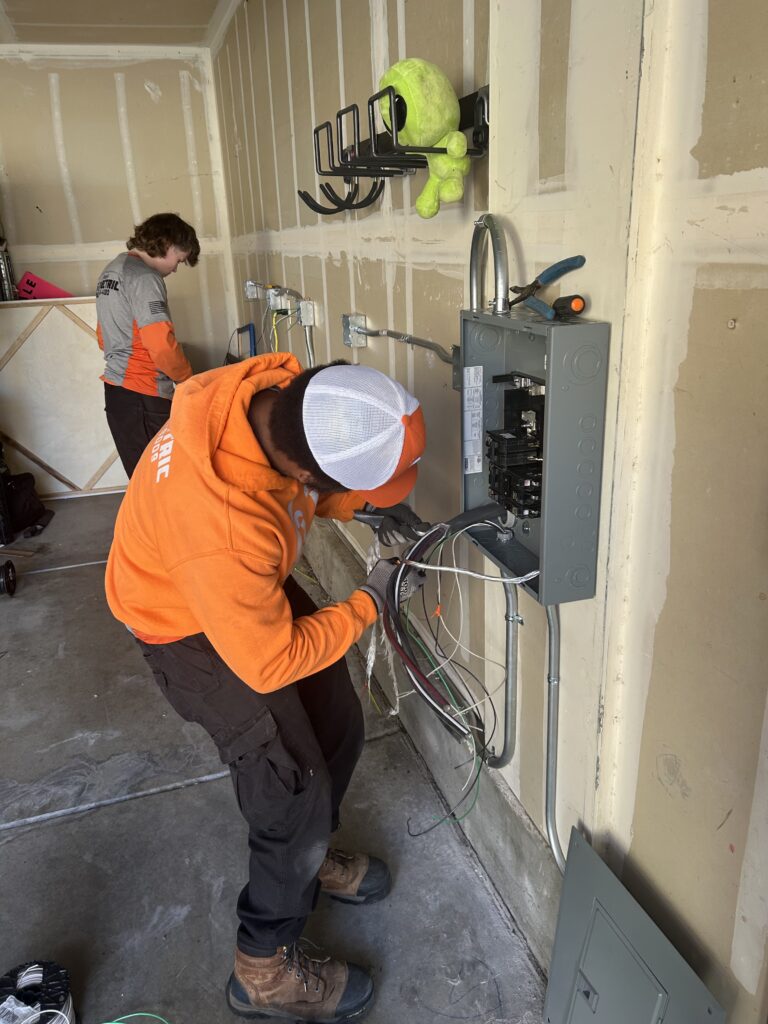
Why You Need 3G Electric for Ceiling Fan Installation in Lincoln and Nearby Areas
3G Electric installs ceiling fans across Lincoln, Roseville, Rocklin, Loomis, and the surrounding Placer County communities. Our team handles everything from single fan upgrades to whole-house installs with dozens of fixtures. We pull the right permits, use only code-rated boxes and bracing, and test every fan before leaving the job. Our electricians carry full licensing and insurance, so every install meets California state requirements and local code. Clean work, clear pricing, and honest recommendations set us apart from shops that cut corners.
We offer senior and veteran discounts on every service call, because we value the people who built our community. Our Tesla Certified, Qmerit Certified, and Jellyfish Authorized Dealer credentials show our commitment to ongoing training and quality. Customers know us as the Best Of The Best Lincoln Electrician because we treat every home like our own. When you call 3G Electric, you get a straight answer, a fair quote, and work that holds up for years. That reputation took time to build, and we protect it on every job.
Ready to install ceiling fans throughout your home? Visit our ceiling fan installation page to book your service, or call us at (916) 461-4080 to talk through your plans. We also offer full electrical inspections if you want to check the condition of your wiring before the install. Click through to our electrical inspection page for more details on what the inspection covers. Let 3G Electric make your home cooler, quieter, and more comfortable this spring.